Ready to dive into the world of live streaming on Twitch? Whether you’re using an Android device, PC/Laptop, or Mac Air, we’ve got you covered. Click here to learn how to set up your stream and start broadcasting to the world today!
Introduction
Streaming on Twitch, whether from an Android device, PC/Laptop, or Mac Air, allows you to share your gaming sessions, creative content, or any live broadcast with a global audience. This guide provides a brief introduction to setting up your stream on these platforms.
For Android Devices:
- Download the Twitch app from our website twitchapk.com
- Log in or sign up for a Twitch account.
- Tap your profile icon and select the ‘Go Live’ button.
- Choose the ‘Stream Games’ option and select the game or screen you wish to stream.
- Customize your stream settings (title, category, camera, and microphone settings) and tap ‘Start Stream’.
For PC/Laptop:
- Create a Twitch account and log in.
- Download and install a broadcasting app like OBS Studio, Streamlabs OBS, or XSplit.
- In your chosen broadcasting software, find the stream settings and link your Twitch account using the stream key found in your Twitch dashboard under Settings > Channel and Videos.
- Set up your scene with sources like game capture, webcam, and microphone.
- Adjust your stream settings (resolution, bitrate, etc.) according to your internet speed and computer’s capabilities.
- Click ‘Start Streaming’ in your broadcasting software to go live on Twitch.
For Mac Air:
- Sign up or log into Twitch.
- Download a broadcasting application compatible with macOS, such as OBS Studio or Streamlabs OBS.
- Link your Twitch account in the broadcasting application using the stream key from your Twitch dashboard.
- Configure your scenes by adding sources like display capture for your screen, video capture device for your webcam, and audio input capture for your microphone.
- Adjust your encoding and output settings based on your Mac Air’s performance and your internet bandwidth.
- Hit ‘Start Streaming’ in your broadcasting app to begin your live broadcast on Twitch.
Remember, successful streaming also involves engaging with your audience through chat, having a consistent streaming schedule, and promoting your stream on social media or other platforms.

How to Stream on Twitch Using an Android Device
Streaming on Twitch lets gamers show their gaming skills live. You can stream from Android devices, computers, laptops, or Mac Air. Streaming for the first time can feel thrilling but tricky. This article helps you stream on Twitch using an Android device. It guides you through the steps to start live broadcasting smoothly.
Streaming on Twitch from an Android device is easy. First, download and install the Twitch app from our website twitchapk.com. This app will help to do live streaming from your phone, just follow to simple step. After installing, open the app and log into your Twitch account. If you Don’t have an account yet? No problem, you’ll need to create one after downloading and installing the app. It’s quick and straightforward.
After logging in, navigate to your profile by tapping on your avatar located at the top left corner of the screen. Here, you’ll find the ‘Go Live’ button, which is your gateway to starting a live stream. Before you can go live, however, there are a few settings you’ll need to configure to ensure your stream runs smoothly.
You will see a request to allow the Twitch app to use your device’s camera and microphone. Giving permissions is important for streaming. It lets viewers see and hear you. After that, you’ll go to the setup page for your stream. Here, you can pick the game or activity you want to stream. Twitch has many games to choose from. This makes sure your content is put in the right category on the site.
After that, give a name for your livestream. This title tells people what the stream is about. Make it creative and descriptive to get more viewers. You can also pick which camera to use (front or back). And change other settings like stream quality. If you don’t know your internet’s upload speed, start with a lower quality setting. This can stop buffering issues for viewers.
Once everything is set up, simply tap the ‘Start Stream’ button, and you’ll be live on Twitch. It’s essential to interact with your viewers by responding to comments and engaging with your audience. This interaction helps build a community around your channel and can make streaming a more enjoyable experience.
Moving from streaming on Android to a computer like a PC or Mac needs a different way. You’ll need special software made for streaming, such as OBS Studio or Streamlabs. These programs have more cool features to make your stream look better. But the main things for good streaming stay the same no matter what device you use. You still need great content, to chat with viewers, and a strong internet link.
To sum up, streaming on Twitch using an Android device is a simple process. It allows almost anyone with a smartphone to start live broadcasting. Follow the steps we shared. Connect with your viewers. You can start an exciting journey into the world of Twitch streaming. Keep in mind, being consistent and genuine is important to grow your channel. So, keep streaming and enjoy the experience.

How to Stream on Twitch from Your PC or Laptop
Many people enjoy sharing their gaming on Twitch. It lets gamers connect with others who love games too. You can share your streams from an Android phone, a PC, or a MacBook Air. This article explains how to start streaming on Twitch from your computer. We’ll show you the steps to set up your account and broadcast to viewers worldwide. With some easy tips, you’ll be ready to stream in no time!
You must make a Twitch account if you don’t have one. Go to Twitchapk.com home page, select PC/Laptop devices download it from our website, and then install it, and then go to Twitch.tv, after that click on the sign-up button and follow the sign-up steps. After making your account, download and install streaming software on your computer. To start Streaming, OBS Studio is a popular choice that is free. It has many features for new and experienced streamers.
You need to connect your streaming software to your Twitch account. This connects the software to your Twitch channel. Look for the ‘Stream’ area in the software settings. Pick Twitch as the service. Then, find a special key in your Twitch dashboard under ‘Channel’ settings. Enter this key into the software. The key links the software to your Twitch account. This allows you to broadcast straight to your Twitch channel.
Configuring your stream settings is the next crucial step. This involves setting up your video and audio sources in your streaming software. For video, you might be capturing content directly from your computer screen, a specific window, or even an external device like a console or webcam. For audio, ensure you have your microphone and any other audio sources, like game sound or music, correctly set up. OBS Studio and similar software offer scenes and sources setup, where you can add and configure each element of your stream, from the game you’re playing to your webcam overlay.
You should consider the video and audio quality of your stream. You can change these settings in your streaming software. The settings should match your internet upload speed for a smooth stream. Higher quality needs a faster internet connection. If unsure, start with low settings. Test your stream and slowly increase the settings as needed.
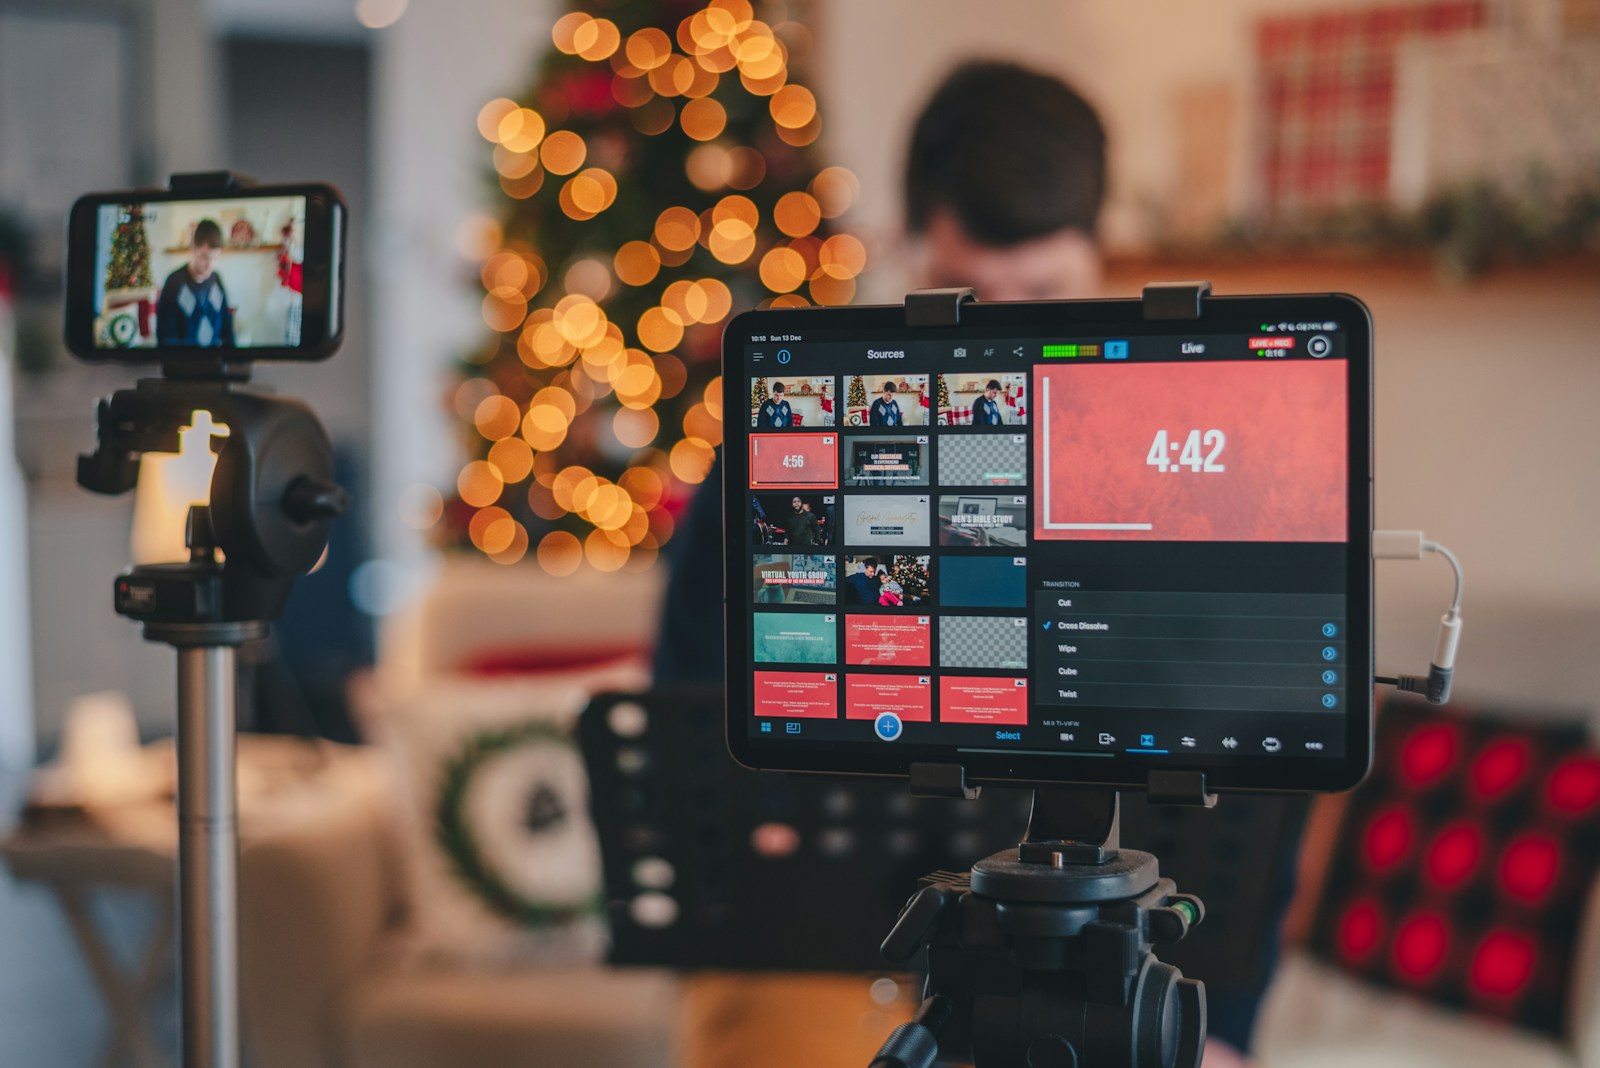
Before going live with your stream is exciting. But first, you should check that all is well. Try a few test streams before you go live. Look for any delays, sound troubles, or other issues. These problems could make your viewers unhappy. Use this time to learn your streaming program. Practice switching between scenes. Try using smooth transitions. See how you can chat with viewers. Following these tips will help ensure a fun stream for all.
When you’re prepared to begin, click the ‘Start Streaming’ button. You’re now live streaming on Twitch! Don’t forget, it’s not only about sharing content. Interact with viewers. Answer queries. Create a fun and welcoming space.
Streaming on Twitch with your computer needs a few steps. First, make a new account. Next, pick streaming software and set it up right. Then, make sure your audio and video are ready to go for a smooth stream. With some prep work, you can share games or fun projects with people all over the world. Do it enough, and you can build a community around stuff you both like!

How to Stream on Twitch with a Mac Air
Many people like to stream on Twitch. It lets them share interests with others around the world. Streaming is easy if you know how. Here we show you how to stream on Twitch using a Mac Air. Even Mac Air users can join the big Twitch community.
To begin streaming on Twitch with a Mac Air, the first step is to create a Twitch account if you haven’t already done so. Visit the Twitch website, sign up for an account, and take a moment to customize your channel. You can add a simple profile picture, and also add attractive channel description, and set up other preferences that will make your channel uniquely yours.
Setting up your Twitch account is the initial step. Next, choose Mac-compatible streaming software. OBS Studio stands out as a free and open-source option that works seamlessly on Mac Air. It offers high-quality streaming, scene composition capabilities, audio mixing tools, and more features. This versatile software appeals to both beginner and experienced streamers, making it a popular choice.
To link OBS Studio with your Twitch channel after installing it on your Mac Air, you must generate a stream key. This unique code comes from your Twitch dashboard. After acquiring it, input the key into OBS Studio. Doing so establishes a connection between the software and your channel. With this link active, you can broadcast live content globally for viewers to enjoy.
Configuring your streaming setup in OBS Studio involves adjusting a few key settings. Initially, establish your video and audio sources. For video, capture your MacBook Air’s screen to showcase gameplay or utilize a webcam for a personalized touch. Regarding audio, select your microphone and fine-tune the levels to prevent any distortion or clipping issues. Moreover, OBS Studio empowers you to incorporate multiple scenes and sources, facilitating seamless transitions between different layouts and content types during your live stream.
Verifying your stream works seamlessly is crucial before going live. OBS Studio provides a “Start Recording” option, allowing you to capture a brief segment for review. This invaluable tool enables you to evaluate audio and video quality, confirm proper source configuration, and refine settings as necessary.
When your setup is ready, click “Start Streaming” on OBS Studio. Congratulations! You’re now live on Twitch. Interact with viewers through chat. Monitor your stream’s performance. Most importantly, relish sharing your content globally.
Setting up Twitch streaming on a MacBook Air may seem intimidating initially, but with a few straightforward steps, you’ll discover it’s an accessible process opening doors to content creation and fostering community connections. Whether showcasing your gaming prowess, artistic talents, or engaging in captivating conversations, Twitch provides a platform to unite with kindred spirits and share your enthusiasms. Embrace the streaming journey with excitement!
Q&A
Streaming on Twitch using Android:
- Download and install the Twitch app from the Google Play Store.
- Open the app, log in to your Twitch account, and tap your profile icon.
- Tap the “Go Live” button, set up your stream (title, category, camera orientation), and then tap “Start Stream.”
Streaming on Twitch using PC/Laptop:
- Download and install broadcasting software, like OBS Studio, from its official website.
- Open OBS Studio, and go through the Auto-Configuration Wizard for optimal settings for streaming.
- Link OBS Studio to your Twitch account by going to Settings > Stream, selecting Twitch as the service, and entering your Stream Key (found in your Twitch dashboard under Settings > Channel and Videos).
- Add sources (like Game Capture, Window Capture, Video Capture Device) in OBS Studio to capture your game or webcam.
- Click “Start Streaming” in OBS Studio to go live on Twitch.
Streaming on Twitch using Mac Air:
- Download and install broadcasting software compatible with macOS, such as OBS Studio, from its official website.
- Open OBS Studio, and complete the Auto-Configuration Wizard to set it up for streaming.
- Connect OBS Studio to your Twitch account by navigating to Settings > Stream, choosing Twitch as the service, and inputting your Stream Key (available in your Twitch dashboard under Settings > Channel and Videos).
- Add your desired sources (e.g., Display Capture for your screen, Video Capture Device for your webcam) in OBS Studio.
- Press “Start Streaming” in OBS Studio to begin your live stream on Twitch.ConclusionTo stream on Twitch from Android, PC/Laptop, and Mac Air, follow these conclusions:
Android:
- Download and install the Twitch app from the Google Play Store.
- Open the app, log in to your Twitch account, or sign up if you don’t have one.
- Tap your profile icon, then the ‘Go Live’ button.
- Choose the ‘Stream Games’ option, select the game or screen you want to stream, and follow the prompts to start streaming.
PC/Laptop:
- Download and install streaming software, such as OBS Studio, Streamlabs OBS, or XSplit.
- Open the software and set it up by linking it to your Twitch account (usually via a stream key found in your Twitch dashboard under Settings > Channel and Videos).
- Configure your stream settings (resolution, bitrate, etc.) according to your PC’s capabilities and internet speed.
- Add sources (game capture, webcam, microphone) in your streaming software to capture what you want to stream.
- Click the “Start Streaming” button in your streaming software to go live on Twitch.
Mac Air:
- Download and install OBS Studio or another compatible streaming software for macOS.
- Open OBS Studio and complete the setup wizard, which includes linking to your Twitch account via a stream key.
- Adjust your stream settings, considering your Mac Air’s hardware and your internet upload speed.
- Add sources such as display capture or window capture for your game or content, and audio input capture for your microphone.
- Click “Start Streaming” in OBS Studio to begin your live stream on Twitch.
In conclusion, streaming on Twitch from Android, PC/Laptop, and Mac Air involves downloading the appropriate software or app, setting up your stream with the right settings and sources, and then going live to your audience. Each platform has its specific steps, but the general process involves software installation, account linking, source setup, and starting the stream.

